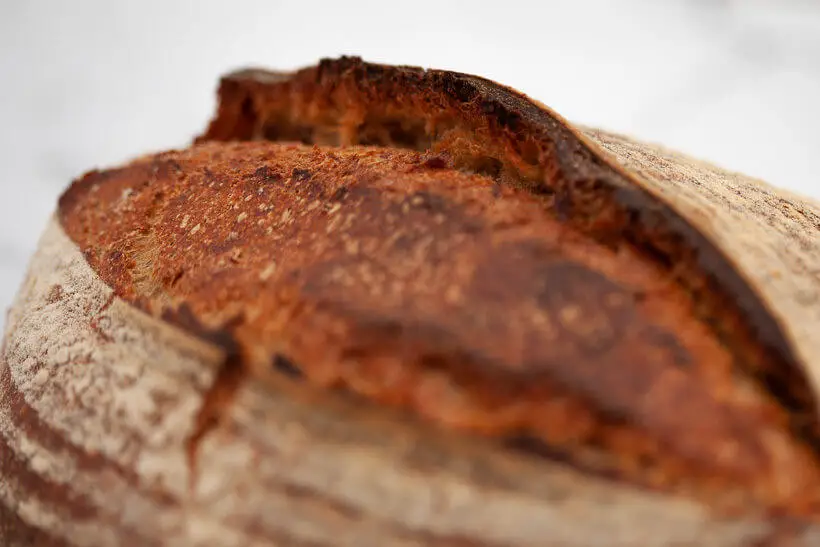
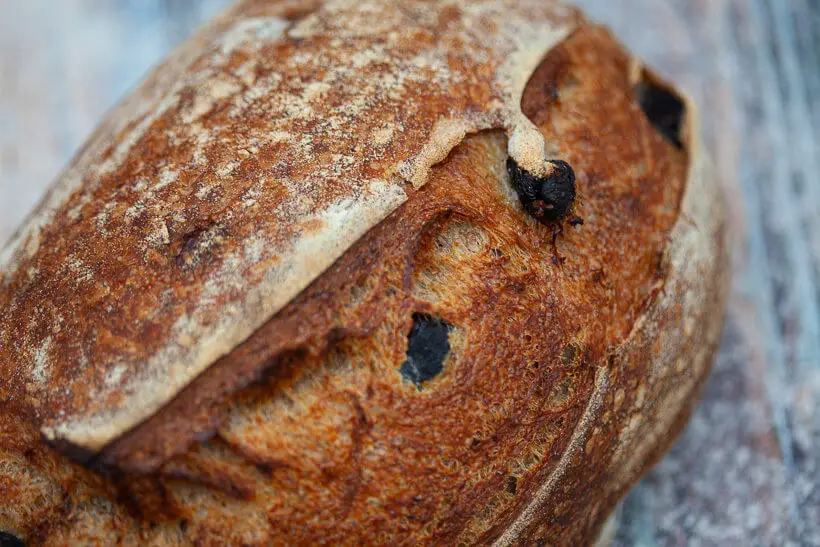
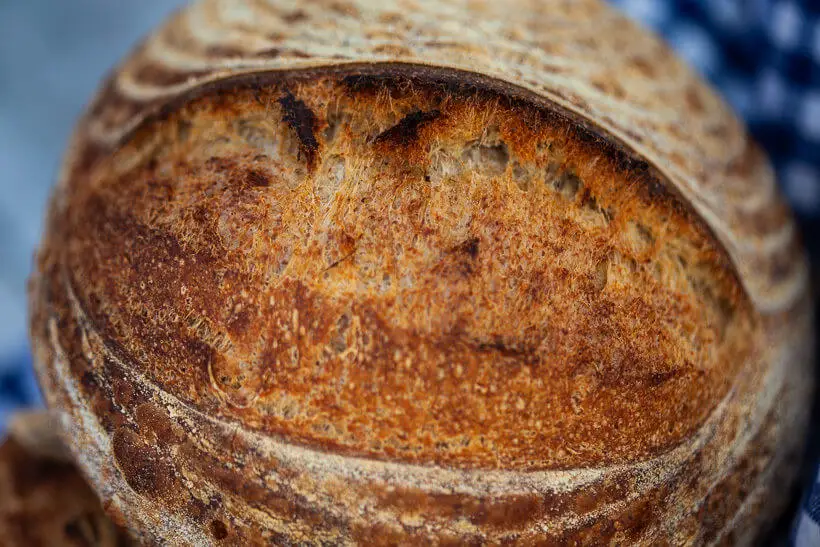
Or how I learned how to bake artisan sourdough bread. Sourdough bread is the new black. Everybody wants to eat it and, more than that, bake it. Getting started can be difficult: making the starter, different techniques that go into making and baking the bread, and in the end, all you get is a flat piece of bread. What gives? These are my secrets to getting great oven spring in your sourdough bread.
I started baking sourdough bread a while back. I knew nothing about it, but I had a month at home recovering after surgery. The first struggle was to make the starter. It was winter, so my kitchen was rather cold, and I didn’t know what effect it would have on making a starter.

When I found out, I bought a Brød & Taylor proofer. My kitchen was on the chilly side, and for the longest time, I didn’t realize that yeast thrives when it’s close to 30°C/85°F.
That’s where I started my journey into the magical world of sourdough. It included some flat and dense pancake-like bread with no oven spring whatsoever. Making notes about everything in every bake, I started to grasp how everything works within the dough and how everything affects the oven spring in sourdough bread.
Today, they call me the dough whisperer. Actually, I don’t think anybody calls me that, but it would be cool if they did.
Now, I am going to spill the beans. If you feel it’s a bit of a long article to read, I’ve made a video where I explain it all:
How the strength of your starter contribute to oven spring in your sourdough bread
The foundation of rising your sourdough bread is your sourdough starter. Before you start baking with your starter, you need to make sure it is strong and has the maximum amount of yeast and lactobacilli possible.
This is not something that you have to repeat over and over, but it should be done as part of building the initial starter.
If you still don’t have a starter, you can read my guide for making a sourdough starter. It’s easier than you think.
So what does a super active starter look like?
My starter is super active. This means that it grows to over triple the size in about 7 hours at room temperature. This is what you want to get for that coveted open spring.
In this video, you can see my starter after a feeding. I’ve fed it 1:2:2. If you are unfamiliar with this notation, it explains the proportions of starter to flour to water in that order.
So, if you feed 1:2:2, you could take 10g of starter, 20g of flour, and 20g of water, or 200g of starter, 400g of flour, and 400g of water.
You shouldn’t make more sourdough starter than you need, so make the amount you need for your next bread plus 25g to keep the starter going.
So, I already have a starter that is established, but it’s kind of sluggish. What do I do?
Well, there are a couple of things that are important to maximize your sourdough starter’s potential:
- Heat
- Flour selection
- Water
- Feeding schedule
- Feeding proportions
Let’s look at each component separately.
What does heat do?
Your starter will contain wild yeast. Exactly what strains will depend on where you live, the biochemistry of your hands, and probably a bunch of other factors. To the final bread, it really does not matter where the yeast came from, just the density in the starter.
Yeast is somewhat of a hedonist. It loves to hang out in a warm environment and multiply. The best temperature for this is between 27°C/ 80°F and 32°C/ 90°F. This means that when you are developing your starter to be strong, you must store it somewhere warm to give it the best growth opportunity.
So spend some time and find that warm spot in your kitchen. It should be a stable temperature, so big fluctuations are not good.
It could be:
- your window sill in the sun
- on top of your refrigerator
- in the oven, with the oven light turned on
- in your proofer
Why does it matter what flour I use?
When you feed your starter the flour that you choose can impact the strength wildly.
You want to completely avoid cake flours and bleached all-purpose flours. These flours simply lack the nutrients needed to make a sourdough starter.
I’d recommend using whole-grain flour—maybe not all of it, but maybe half. Rye is great, but regular whole-grain wheat flour is good, too. If you own a flour mill, freshly milled flour is yeast’s favorite food.
Can I just use tap water?
Your tap water can inhibit your starter. I live in Denmark and we have crazy good water quality. The stuff that comes straight out of the tap is wonderful. Why people buy bottled water here makes no sense to me.
Where you live, that might not be the case. Ask yourself this: “Do I want to drink the water straight out of the tap?” If the answer is a resounding “No!” then maybe you should not feed it to your starter.
If the only thing that’s problematic about your water is chlorine, then put some water in a bowl and leave the water on your kitchen counter for a couple of hours. The chlorine will dissipate, and it’s ready to use for your starter (and bread).
What kind of feeding schedule should I use then?
When you are trying to maximize the yeast in your starter, the best thing you can do is to feed it right as it starts to deflate because that’s when the yeast has “eaten” all the sugars in the flour and will start to get hungry.
That is going to be hard to keep up with, so if you space out three feedings with 8 hours in between, that should work just fine. So, if you’re an early riser, feed it at 6:00/6 a.m., 14:00/2 p.m., and 22:00/10 p.m. If you like to sleep in, you can do 9:00/9 a.m., 17:00/5 p.m., and 1 a.m. Whatever fits your schedule.
If that seems too much, feed as you get up, somewhere in the middle of your day, and right before you go to bed. There’s no need for sourdough to control your life. At least, that’s what I keep telling myself.
How should I feed my starter?
The proportions of starter to flour to water are important. The more flour and water you have compared to the starter, the more food is available to the yeast. The more food there is in the presence of yeast, the more it will multiply. So, for this part, I recommend using 1:5:5 for everyday feeding, but to make it crazy active, you can try 1:50:50.
That means you add to a container:
- 5 grams of starter
- 25 grams of whole-grain wheat flour (or a half-and-half mixture of whole-grain wheat flour and bread flour)
- 25 grams of room-temperature water
You don’t need any more than that. There’s no reason to waste flour.
How do I store my sourdough starter?
When the sourdough starter is good and active, you need to store it somehow.
You can store your sourdough starter in many ways, but the best way for a very active starter is to keep it on the kitchen counter. I store mine on the counter all year round, and I don’t feed it every day. I usually feed it once before I need it. Sometimes I don’t feed it for weeks and it’s just fine.
The important thing is to be pretty vigilant about hygiene. Use clean utensils and switch to a clean container every time you feed. That way, you minimize the possibility of mold and fungus, which are the biggest contributors to starter death.
If you fear losing your starter, keep a backup in your fridge. You don’t even have to feed it. If it’s super sluggish, it can be revived in hours, maybe days. Just follow the tips in the previous section.

The role of gluten development in oven spring in sourdough bread
Getting the gluten properly developed in your bread is essential to pretty much everything in your bread. Oven spring, texture, crumb, crust.
It’s something that’s often overlooked when people bake with commercial yeast because the yeast is so potent that the bread will rise even if you don’t have much gluten development. Plus, paired with the fact that yeasted bread is often of much lower hydration than sourdough bread, it makes it seem like the bread stays together.
So, how do I develop gluten?
Gluten is developed in dough by the proteins in the flour being hydrated. Agitation (like kneading, slap and fold, stretch and fold, or coil fold) accelerates the process. If you want to know about the specifics, Modernist Cuisine has published an article about gluten development. It’s pretty technical. Don’t say I didn’t warn you.
Autolyse? What is that?
A good way to get a head start is to use autolyse (meaning self-mixing). Autolyse consists of mixing the flour and fluids for the bread formula and letting them stand around to just get to know each other. The presence of water in the flour will hydrate the proteins glutenin and gliadin, which then starts a chemical process that creates gluten.
Most sources I’ve seen recommend an autolyse time of twenty minutes to sixty minutes, but often I will autolyse for four hours with no ill effects. Your mileage may vary.
It’s important to note that you should not mix in any starter or salt at this point. You should only mix flour and water.
If you add the sourdough starter, the dough will start fermenting, which is not what we want now. We only want to develop gluten.
If you add salt at this point, it will tighten up the gluten structure, making mixing the dough difficult, so we wait with the salt until just before we start the bulk fermentation.
Can I check if the gluten is properly developed?
It’s a good idea to test whether the gluten is developed properly after your last stretch and fold. If it isn’t, I’d recommend extending the bulk and doing more stretches and folds.
The way you check the gluten development is by “pulling a windowpane”. That means that you grab a piece of the dough and stretch it between your fingers. Work slowly and extend the dough until it is so thin that you can see light through it.
If the dough breaks during this process, that means the gluten hasn’t been developed properly.
You can see me “pull a windowpane” here:
How does bulk fermentation affect oven spring in sourdough bread?
Bulk fermentation is the time when we agitate the dough to strengthen it and let the wild yeast do its work.
Usually, bulk fermentation is split into two parts. The first part is where we stretch and fold the dough, and strength is being built. Gentle handling here is key to getting that coveted open structure.
Just leave it alone!
The second part is the rise, where the dough is left alone while it ferments. Usually, you let the dough rise from 20% to 100%.
The term “under fermented” means the dough hasn’t expanded enough to be ready to bake.
The term “over fermented” means that the yeast in your starter ate all the food, and there is none left for it to eat. This causes the yeast to produce CO2, which is what gives the rise and the holes in the crumb.
If you have an active starter that expands to triple the size when it’s fed, you can absolutely let the dough rise to double the size. There’s still enough food in the dough for the yeast to make the bread rise during baking.
To get a good oven spring I usually let the dough grow about 50%, so there’s still a lot of rising left. This dough is probably slightly under-fermented. I guess it’s a hack. I should make a YouTube video: “One crazy hack that will make your sourdough bread blow up!”.
How do I know when the bulk fermentation is over?
Judging when the bulk fermentation is over is not only about the amount that it’s grown but also about how the dough feels. The dough should feel light (not weight-wise) and puffy and have visible signs of fermentation: bubbles and bulges. Also, if you wiggle the container it’s in, the dough should jiggle and not seem rigid.
Judging fermentation is a learned skill, so all I can say is bake, bake, bake. Notice how the dough looks and how the bake goes, and you will start to get an idea about how it works.
Shaping is essential to oven spring in sourdough bread
Pre-shaping and shaping are very important for oven spring in sourdough bread.
After you’ve built an amazing gluten network in your bread dough, you want to position some of the gluten on the outside of the dough. It should be a tight network that holds the dough together.
There are a few reasons for this:
- It will help your loaf stand up straight and not turn into a puddle in the oven.
- It will help the dough stay together and only expand in the places where you’ve scored the dough.
Retard? That isn’t politically correct!
It is important to retard your dough. Retard means to let the dough rest in the fridge after it’s been shaped and put into the banneton.
Here’s why that is important:
- The cold dough doesn’t collapse so easily, and it’s much easier to score. So while you are handling it won’t just turn into a puddle on your table.
- Cold dough will release more steam for longer than room-temperature bread, which means… more oven spring.
Why scoring the bread is important for oven spring in sourdough bread
Scoring the bread is important because it lets you decide where and how much your bread should open up. You can leave it to chance, but if you actually built enough gluten in the dough and fermentation went on a bit longer or your starter isn’t super active, you may get a dense bread.
Reasons to score your bread:
- It will help you decide where the bread will open up during baking. People tend to love “ears” on their loaves, and that’s how you get them.
- It will help you get a more open crumb. When the bread opens up, it can expand upwards, leaving room for the crumb to open up.
- It looks really awesome (no, it’s not related to oven spring)

The importance of baking with heat and steam for great oven spring in sourdough bread
To maximize the possibility of oven spring in your sourdough bread, you must bake it as hot as Hell. It’s not a swear. It’s an actual temperature. You will also need to bake with steam.
Why so warm? Does it really make a difference?
The reason you need a lot of heat at the beginning of the baking is you need most of the loaf to be heated through as quickly as possible. Most of the rising in the oven happens within the first ten to fifteen minutes of baking.
For that reason, you also need everything in your oven to be completely saturated with heat. I normally start out at 260°C/500°F and let the oven and the combo cooker be heated for an entire hour.
I also have a baking steel in my oven. It helps retain heat when I open the door and it makes the heat more even in all spots of the oven.
Home ovens work by having heating coils at the top and the bottom of the oven. That means that you might get a burned bottom or a scorched top. The steel or a pizza stone will really help mitigate this problem.
Steam? What does that do?
You need to bake with steam to maximize the oven spring. The moist environment in your oven makes the crust take longer to set. That means the parts of the crust where you scored your loaf can extend for a longer period of time. The interior gets larger, meaning a more open crumb and more oven spring.
I bake using a combo cooker most of the time. It just simplifies baking and gives a great result every time. You can absolutely steam by using your oven’s steam function (if you have one of those) or adding a pan with boiling water as you start baking.
The summary: How to get great oven spring in your sourdough bread
This is a checklist for you to get amazing oven spring in your sourdough bread every time:
- Make sure your starter is healthy and super active.
- Make sure you develop gluten.
- Use autolyse.
- Pull a windowpane to test it.
- Learn how to time bulk fermentation.
- Ensure you ferment your dough until it feels light, puffy, and bubbly.
- Under ferment a bit to maximize oven spring.
- Shape the dough so you get a really taut surface. Remember this requires proper gluten development, see 2)
- Retard your dough.
- Score the dough in a pattern that will let the bread expand.
- Bake hot and with steam.
If your bread fails, go through your notes (you do take notes when you bake, right?). Figure out at what step you failed and learn something for your next bake.
If you need an actual recipe for sourdough bread, I have this great sourdough bread for beginners recipe that is a great place to start.
That’s it! You know all my secrets about oven spring.
Please share on social media to let others get amazing oven spring in their sourdough bread
These are the secrets to getting a consistent great oven spring in your sourdough bread. I hope that you learned something new and that you will get sourdough bread with an amazing oven spring every time from now on. If you found it useful please consider sharing it with fellow bakers on social media. That would make me very happy.


