It’s fall, and it’s time to go back into the kitchen and make some good food, and what’s better than bread? But wait a minute, you threw out your starter, or you never go around to make one. Making one involves a lot of feeding, flour and water weight, and stuff. Well, Foodgeek to the rescue. This is my article about how to make bread with apple sourdough starter.
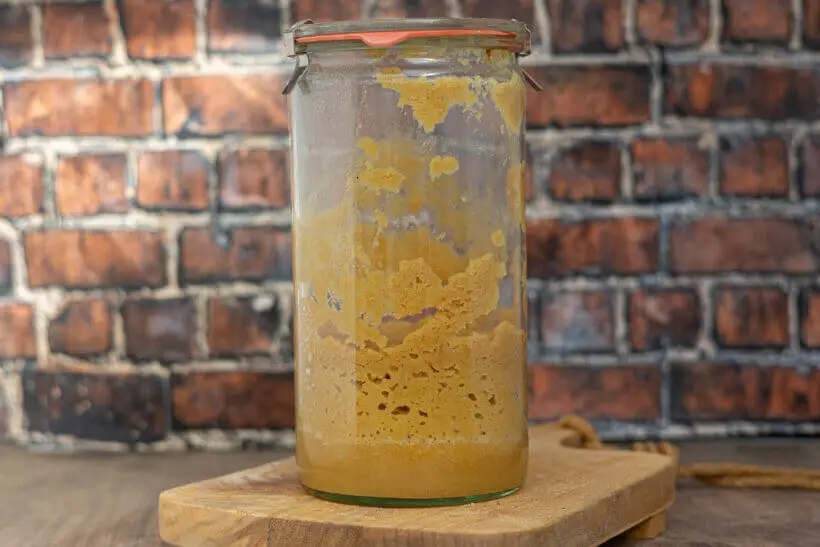
What’s an apple sourdough starter, and how do you make it? Well, it’s super simple. Basically just purée the apples and leave them on your kitchen counter for 5 days or so, and it’ll be ready to bake bread.
If you are just here for the recipe, you can press the button underneath to be automagically transported to the recipe:
Jump to Recipe Jump to VideoThe dough in this bread with apple sourdough starter
Vitals
| Total weight | 1395 grams |
| Pre-fermented flour | 0% |
| Hydration | 80.2% |
| Yield | 2 loaves of apple starter bread |
Dough
The dough in this sourdough is made with 80% bread flour and 20% Øland wheat. If you want you can replace the Øland, you can use any whole-grain flour that you like, even gluten-free.
The hydration of the dough is 80%, which may be way too much for whatever bread flour you are using. If you’re new at baking and you’re maybe you are substituting with all-purpose flour, I’d recommend you try out 65% hydration. If the dough feels dry, you can always add more water.
The video gives the details about how to scale the water, but you can also use my Bread Calculator listed below.
You don’t need a sourdough starter for this bread, because we are making one with apples instead. The result will still be amazing bread.
The inoculation of the starter is 25%, which is a bit higher than usual. The apple starter is not AS powerful as a flour starter but will leaven your bread perfectly.
| Weight | Ingredient | Baker's Percentage |
|---|---|---|
| 600g | bread flour | 80% |
| 150g | øland wheat | 20% |
| 15g | salt | 2% |
| 440g | water | 58.7% |
| 190g | apple starter | 25.3% |
If you want to play around with the recipe: change hydration, quantity, or inoculation, you can do so here in my Bread Calculator.
The conclusion of this apple sourdough starter bread
So as I made this bread, I had never made an apple starter bread before, so I didn’t know what to expect, but here’s my opinion:
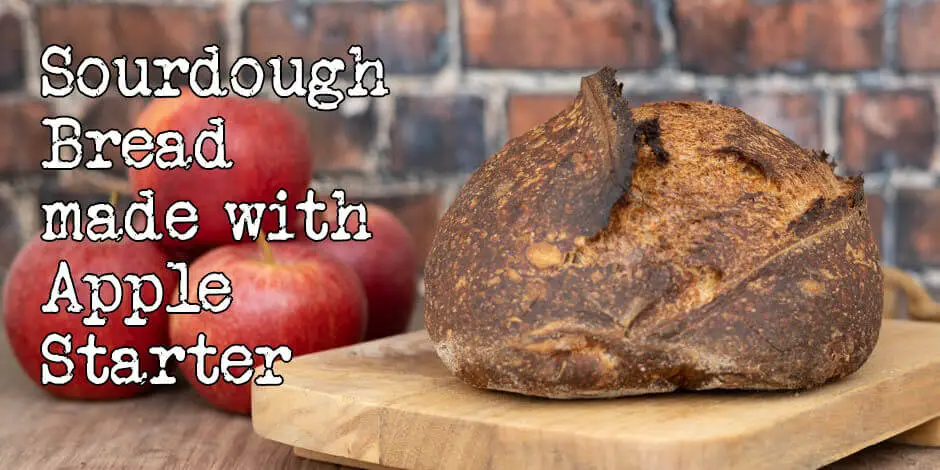
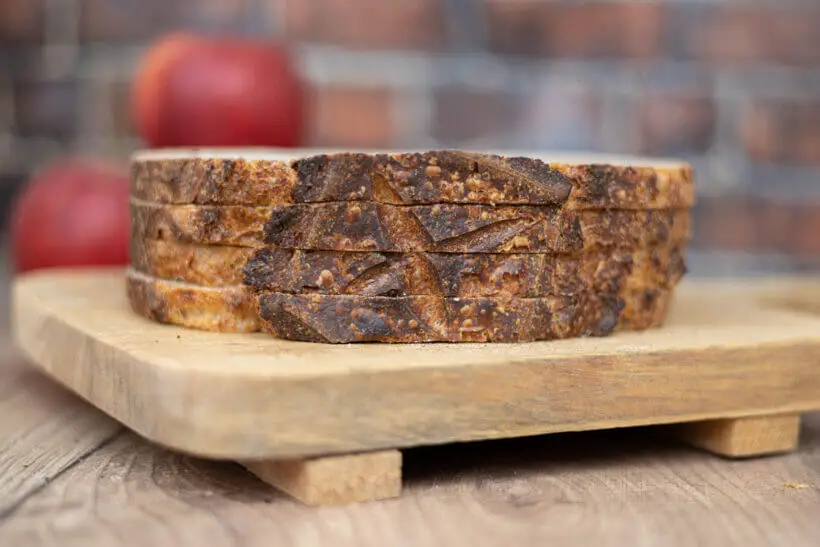
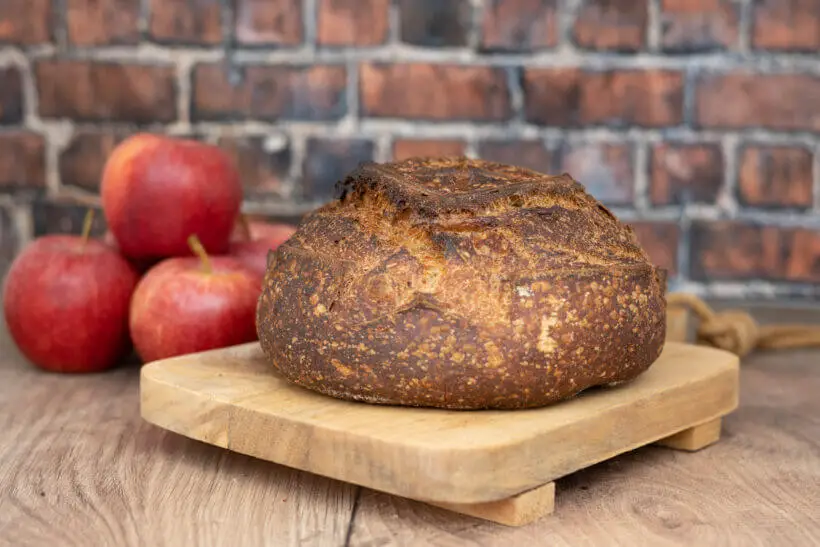
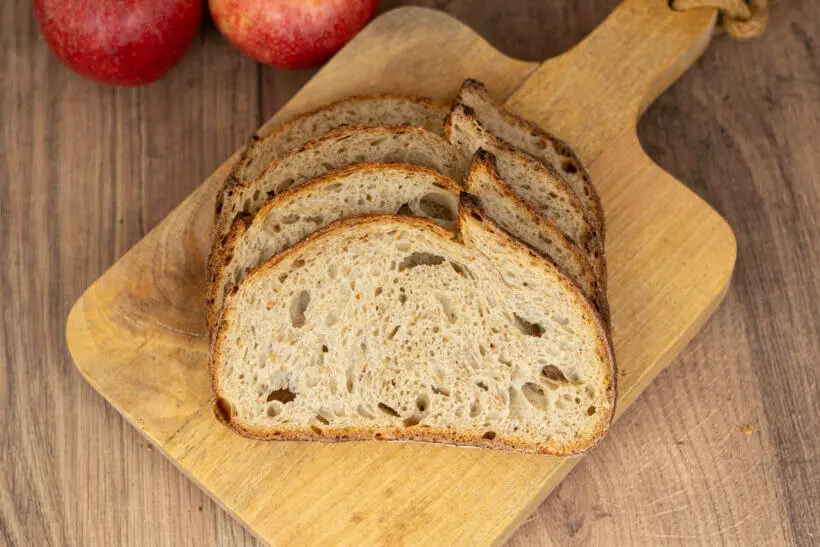
The crust smells delicious and is super crispy. It’s deeply caramelized but doesn’t have the bitter notes, you can usually smell on a loaf of sourdough bread. The smell of the crumb is slightly sour, but once you eat it you are surprised by how it tastes. There are almost no sour notes.
The smell is wonderfully pleasant, very bready and there are some sweet notes on the smell. You cannot detect any apple, though.
The crumb is relatively tight, but that’s to be expected with that amount of whole grain, and you can use 100% bread flour if you want lighter bread.
It’s great. If you like wonderful bread, this is the bread for you. Even if you’ve had sourdough you felt was too sour, this may be the one to convert you.
Please share this recipe for apple sourdough starter bread on social media
This is my recipe for bread with apple sourdough starter. If you like the recipe please consider sharing it with like-minded bread lovers on social media.
If you make it and post it on Instagram, please tag me as @foodgeek.dk so I can see it. That would make me very happy.
Ad links! The links for equipment and ingredients in this recipe are affiliate links, which means I will receive a commission if you purchase the product.
Bread with Apple Sourdough Starter
Equipment
- challenger bread pan or the combo cooker
- combo cooker or the challenger
Ingredients
Apple Starter
- 300 g apples about 3 apples, organic and non-waxed
Bread
- 600 g bread flour
- 150 g øland wheat substitute with any whole grain
- 15 g salt
- 440 g water
- 190 g apple starter
Instructions
Make apple starter
- Core the apples and cut them into chunks. Don*t peel them. Process them in a food processor until finely broken up.
- Then add to your blender and purée it completely. Add to a weck jar and seal it closed.
- Vent the jar once a day to remove built-up CO2. Leave it for at least five days. It should rise during this time.
Make the loaves
- Mix everything for the bread and leave it covered for an hour.
- Then perform three sets of stretch and folds, spaced out by 30 minutes.
- Put the dough in a cambro container and mark where the top is, then mark where the dough will have grown 25% or about a ¼ of its original height.
- Then divide the dough into two equally sized pieces and pre-shape both pieces into loose balls. Let the dough rest for 20 minutes on the counter.
- Final-shape the balls into either bâtards or boules, whatever your preference.
- Put them into bannetons, and put them in the fridge for at least 8 hours, but up to 48 hours.
Bake the bread
- Heat your oven to 230°C/450°F with a dutch oven inside for 30 minutes.
- Grab a loaf from the fridge and dust the bottom with rice flour. Flip the loaf onto a peel.
- Score the loaf and put it into the oven. Put the top of the dutch oven back and bake for 25 minutes.
- Then prepare the other loaf. Move the half-baked loaf out of the dutch oven to the side, then put the unbaked loaf inside the dutch oven.
- Cover it and bake for 25 minutes. Remove the finished baked bread and put it on a wire rack. Then remove the dutch oven cover and finish baking for 25 minutes.
- Remove the finished loaf from the oven and let it cool on a wire rack.


