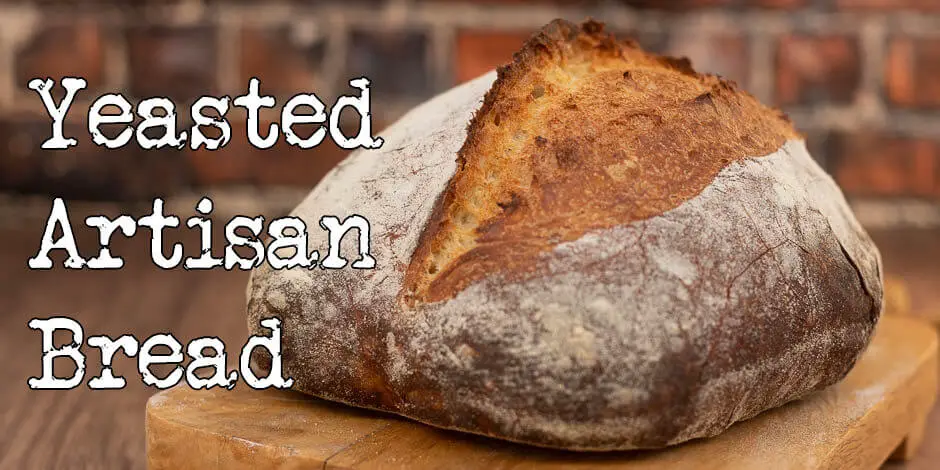
Baking your own bread is so gratifying. Not only because it’s so much better than store-bought bread and better than most commercial bakeries. If you are new in baking it’s a great way to learn all the artisan techniques, without all the intricacies of sourdough bread fermentation. This is my recipe for yeasted artisan bread.
Many people associate homemade bread made with yeast with bread with kind of a soft crust, a very tight crumb, and not very much taste. I am about to change your view on this.
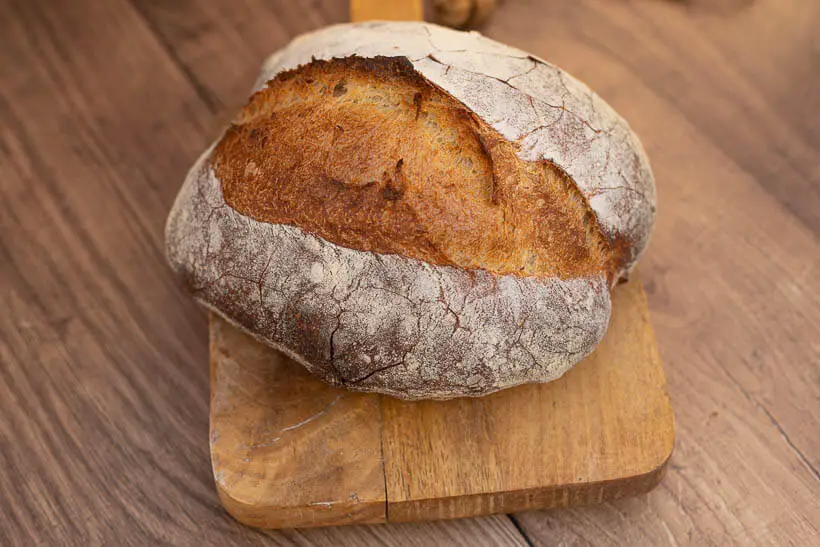
This bread has a crispy, wonderfully caramelized crust. An awesomely soft and open crumb and a deliciously well-developed taste. No tang though.
If you are just here for the recipe, you can press the button underneath to be automagically transported to the recipe:
Jump to Recipe Jump to VideoWhat is this yeast you speak of?
Yeast is a microorganism of the fungal variety. There are many types of yeasts, and not all of them are useful in baking. Actually most of them.
If you have a sourdough starter, it can contain one or more strains of yeast. The common ones are Kazachstania exigua, Saccharomyces cerevisiae, K. exiguus, and K. humilis.
Baker’s yeast, which is the one that you will find in commercial yeast products, like fresh or cake yeast, active dry yeast, and instant yeast is of the strain Saccharomyces cerevisiae.
Also, baker’s yeast has a much higher concentration of yeast than you can get in a sourdough starter, which means that it’s much more potent when it comes to rising the bread.
This also means that if you bake a normal yeast-based bread it will be finished in a couple of hours from mixing, to being taken out of the oven.

The dough in this yeasted artisan bread recipe
Vitals
| Total weight | 1400 grams |
| Pre-fermented flour | 0% |
| Hydration | 75% |
| Yield | 2 medium loaves |
The dough
The dough in this bread is made with only bread flour. If you’d like a more rustic, coarse, and healthy bread, you can add up to 30% of your favorite whole grain flour.
The hydration is 75%, which gives you a nice moist bread with a long shelf life.
If you are not using or are not able to get bread flour, and are using all-purpose flour, you may want to change the hydration to between 65% to 70%.
The salt content is 2.2% which is perfect to bring out the taste of the flour. For health concerns, you can lower the salt content, but you shouldn’t go below 1% as it can affect the gluten structure.
The amount of instant yeast is 0.5%, which is on the low side. The range of instant yeast inoculation is commonly between 0.2% to 2.0%. This will help us get a long fermentation without over-proofing the bread.
If you want to use a different kind of yeast, you can use my yeast converter to figure out how much you need.
| Weight | Ingredient | Baker's Percentage |
|---|---|---|
| 788g | bread flour | 100% |
| 17g | salt | 2.2% |
| 4g | instant yeast | 0.5% |
| 591g | water | 75% |
If you want to scale, change quantity, hydration or just play around with the formula, you can do so here in my Bread Calculator.
The conclusion of this yeasted artisan bread recipe
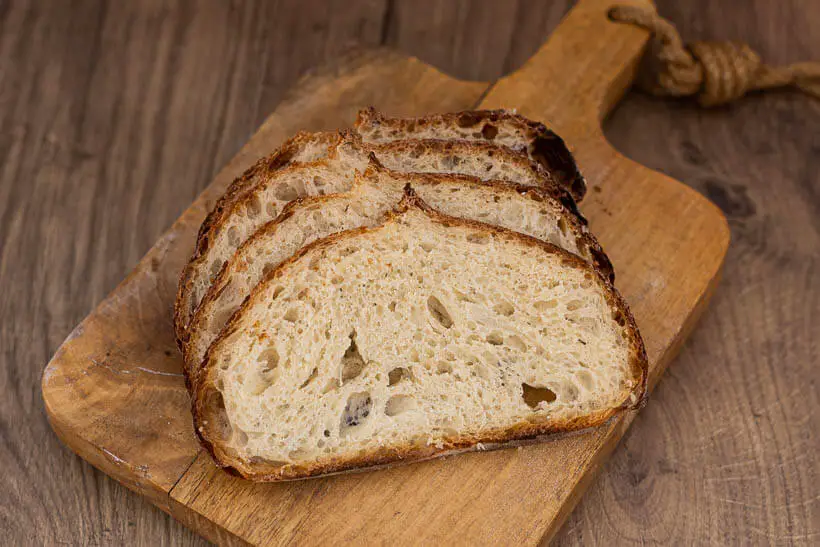
So, this bread tries to set itself apart from common home-baked yeasted bread, which normally has a soft and very light brown crust. The taste is also pretty bland.
So how does it shape up:
- The crust is wonderfully crisp
- The color is a great caramelized brown
- The crumb is soft and open
- The taste is well-developed
- It has an oven spring like a sourdough bread
I’m stoked with how it turned out and I think that if you want great bread this is a perfect way to get it. You don’t need a sourdough starter.
Please share this recipe for yeasted artisan bread on social media
This is my recipe for yeasted artisan bread. If you like the recipe please consider sharing it with like-minded bread lovers on social media.
If you make it and post it on Instagram, please tag me as @foodgeek.dk so I can see it. That would make me very happy.
Yeasted Artisan Bread
Ingredients
- 788 g bread flour
- 17 g salt
- 4 g instant yeast
- 591 g water
Instructions
Mix the dough
- To a medium bowl add: 788g bread flour. 17g salt and 4g instant yeast.
- Mix up the dry ingredients.
- Then add: 591g water.
- Mix the dough with your hands until all the flour has been hydrated.
- Then put the dough on your kitchen counter and perform some slap and folds until the dough comes together. Then put the dough in a see-through container and level the top of the dough.
Proof and retard the dough
- Mark the top of the dough with a white board marker and let the dough grow to almost 100%.
- Then put the dough in the refrigerator for at least 8, but up to 72 hours.
Divide and shape the dough
- When ready to bake, grab the dough from the fridge and pour it onto the kitchen counter. Don’t let it come up to temperature.
- Divide the dough into two equally sized pieces. Shape each piece into a loose ball with your bench scraper.
- Then let the dough rest for 20 minutes to relax the gluten.
- Then final-shape both dough balls. I recommend that you watch the video at the bottom where I give a tutorial on how to shape a round bread (boule) and a bâtard (cigar-shaped).
- Place the final shaped doughs in bannetons.
Prepare bread for baking
- Heat your oven to 260°C/500°F with a baking steel (or pizza stone) and a dutch oven inside. Let it heat for an hour.
- When the hour is up, grab the first dough. Dust the bottom with rice flour to avoid sticking to the peel, and flip it onto the peel.
- Dust the top with rice flour for a cool look, then score the bread. Put the bread into the dutch oven.
Bake the bread
- Add the lid on the top and bake for 20 minutes.
- When the 20 minutes are up, remove the lid and turn the oven down to 230°C/450°F.
- Bake for 20-25 minutes more until the bread is to your liking.
- Take the bread out of the oven, and let it cool on a wire rack.
- Bake the other bread the exact same way.


