Today, I’m exploring four different methods of working dough to see how they impact the final bread. I’ll test the traditional stretch and fold method, the super easy no-knead approach, the mechanical power of a stand mixer, and, finally, the underdog: the food processor. What is the best sourdough kneading method?
Now, why test these methods? Each technique has pros and cons, but I wanted to see how they compare directly regarding practicality and the final result.
Let’s dive in!
AD LINKS
The links for ingredients/items in this article are sometimes affiliate links,
which means I will get a commission if you purchase the product!
Why experiment with the sourdough kneading method?
A Cook’s Illustrated claim that using a food processor to knead dough is a game-changer inspired this experiment. While I’ve had plenty of experience with the other methods, the idea of using a food processor intrigued me—could it produce a loaf as good as one made by hand or with a mixer? As a self-proclaimed food geek, I couldn’t resist testing it out. Naturally, I decided to compare it with three other popular techniques I use in everyday baking.
But let me clarify: this isn’t about proving that one method is objectively better. It’s more about understanding which method best suits your workflow and lifestyle. Do you prefer a hands-off approach or enjoy being involved in the process? Is speed critical, or will you let time do most of the work?
With those questions in mind, let’s break down the experiment.
The dough formula
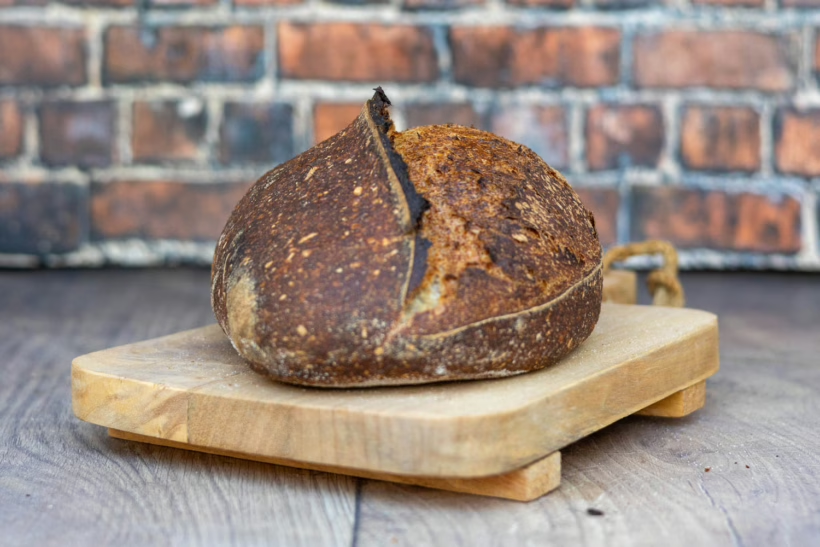
For this experiment, I used my go-to dough formula. It’s a balanced recipe with a good mix of structure, flavor, and hydration—perfect for testing how each method develops gluten and influences the final product. Also, since this is the recipe I use every time (with changes depending on what’s being tested, of course), it makes it possible to compare across experiments.
- 80% bread flour (Caputo Manitoba Oro in this case, though any high-protein flour like King Arthur or Bob’s Red Mill will work well)
- 20% rye flour (for flavor and a bit of extra character)
- 20% sourdough starter (my trusty homemade starter)
- 2% salt (to enhance the flavor and control fermentation)
- 80% hydration (which means the water is 80% of the total weight of the flour)
This hydration level is right in the sweet spot—not too sticky, but wet enough to allow for good gluten development. It’s a dough that requires some skill but gives each method a fair chance to shine.
All of the methods (except food processor) are covered in my Master Recipe, which is excellent for both beginners and advanced bakers. It makes everything a lot easier than a standard sourdough bread recipe.
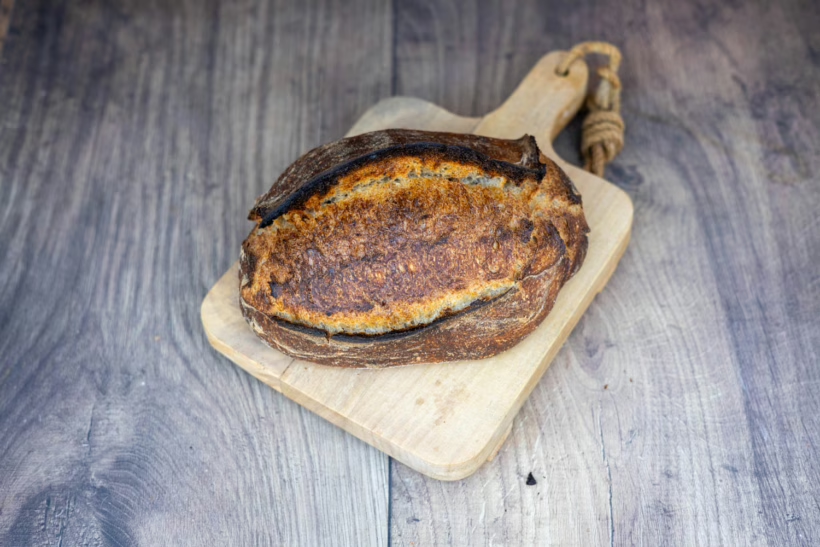
The Four Sourdough Kneading Methods
Control (Stretch and fold)
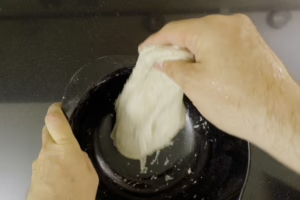
The stretch and fold technique is a staple in sourdough baking. If you’re unfamiliar with it, here’s a quick rundown: after mixing the dough, you let it rest for a while before gently stretching and folding it at intervals during bulk fermentation. This method encourages gluten development without aggressively kneading the dough, which helps retain the dough’s open crumb structure.
For this dough, I mixed the ingredients by hand, let it rest for an hour (akin to an autolyse), and then performed stretch and folds every 30 minutes for about three hours. The idea is to gently develop the gluten over time, allowing the dough to strengthen without tearing it down by over-kneading.
I love this method because it’s hands-on and gives you a direct connection to the dough as it changes texture and structure. You can feel the dough coming together as each fold becomes smoother and more elastic. Plus, it’s excellent for those who want to work with dough without much muscle power.
No Knead
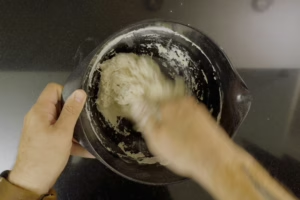
The no-knead method is the ultimate hands-off approach. Jim Lahey popularized it, and it is a favorite for home bakers who want great bread with minimal effort. Mix the dough, leave it alone, and let time (and fermentation) do the hard work.
I mixed all the ingredients for this method and skipped additional kneading or stretching. The dough went straight into bulk fermentation, relying on the long fermentation period (around 12-18 hours) to naturally develop gluten. No-knead for sourdough works well because the gluten has time to form a strong, stretchy network as the dough ferments slowly.
This method is excellent for busy people who want fantastic bread but don’t have the time (or desire) to handle dough. The longer fermentation also improves flavor, resulting in a loaf with more depth and complexity.
STAND Mixer
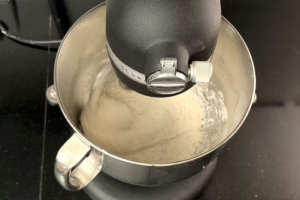
The stand mixer is a modern convenience that makes kneading a breeze. With a dough hook attachment, the mixer quickly incorporates the ingredients and develops gluten with minimal effort. I used my KitchenAid for this method.
I added the ingredients to the bowl, turned the mixer on, and let it knead until the dough became a smooth, cohesive ball. This method is great for those who want to save time or avoid the mess of handling wet dough. It also guarantees consistent gluten development since the mixer works the dough more thoroughly than most people can by hand.
While the mixer does the heavy lifting, there is one drawback: you miss out on that hands-on connection with the dough. Some bakers (myself included) enjoy feeling the dough’s progression, but if you’re short on time or energy, this is a solid option.
Food Processor
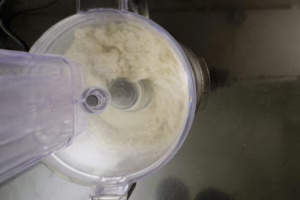
Here’s where things got… interesting. I was excited to see if the food processor could truly revolutionize kneading, as Cook’s Illustrated claimed. I started by mixing the dry ingredients in the processor, then added the water and starter.
But, after a minute or so, disaster struck. The food processor overheated and cut out. After several attempts to get it back on, it was clear it wasn’t up for the task. The dough that came out was a sticky, undeveloped mess—not promising. Still, I let it ferment and see if time could salvage it. Spoiler: it didn’t.
While theoretically faster, the food processor has its limitations. It heats up quickly, which isn’t ideal for dough, and the blade doesn’t mimic the gentle kneading or stretching action that helps develop gluten properly.
The Process of testing the Sourdough Kneading Method
For all four methods, the doughs went through the same primary stages:
- Bulk Fermentation: Each dough is fermented for about three hours at room temperature. During this time, the control dough is stretched and folded every 30 minutes while the other doughs are left untouched.
- Pre-Shaping and Final Shaping: After bulk fermentation, I gave each dough a quick pre-shape to build tension and let it rest. Then, I shaped the final loaves and placed them in proofing baskets.
- Overnight Retardation: All the loaves went into the fridge for an overnight cold retard. This helps develop flavor and makes the dough easier to handle when it’s time to bake.
The next day, I preheated my oven (and Challenger Bread Pan) to 230°C (450°F). I baked the loaves using two-stage baking, following the same routine: dust the bottom, flip onto a peel, score the dough, and load it into the oven. Each loaf is baked for about 25 minutes, then moved to the side while the next loaf is inside the Challenger. This cuts the baking time almost in half.
If you want to watch this article about the sourdough kneading method in video form, it’s right here:
The Results: Weights and Crumb Structure
Once the loaves had cooled, it was time to weigh them and inspect the crumb—the part we’ve all been waiting for!
Here’s how the final weights turned out:
- Control: 559 grams.
- No-Knead: 548 grams.
- Stand Mixer: 544 grams.
- Food Processor: 475 grams.
As you can see, the food processor loaf weighed significantly less than the others. This was due to a lot of the dough being lost as it was stuck to the inside of the food processor.
Crumb Structure
Let’s talk crumb in this Sourdough Kneading Method experiment. The crumb is an excellent indicator of gluten development and fermentation. Here’s what I saw:
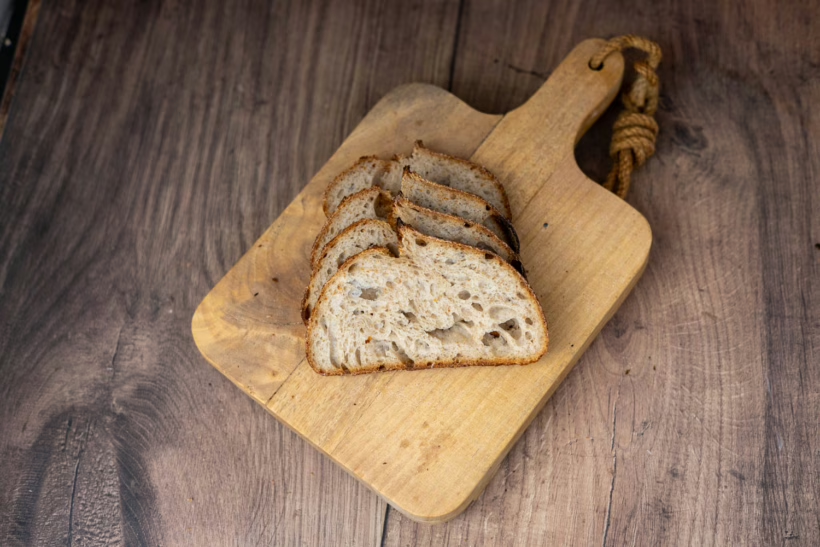
- Control: The crumb is open and airy, with beautiful bubbles. The stretch-and-fold method developed strong gluten, producing a nice chew and a well-risen loaf.
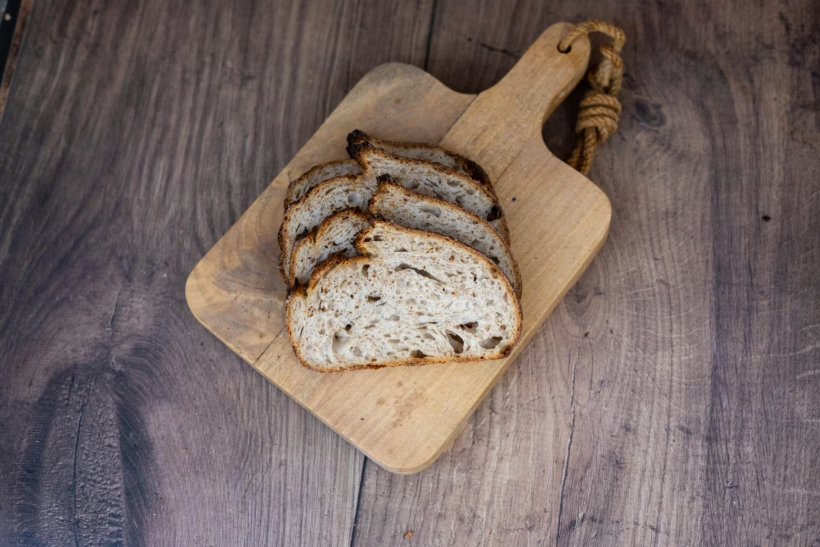
- No-Knead: The crumb was slightly tighter than the control, but it was still excellent. The long fermentation built structure without manual effort.
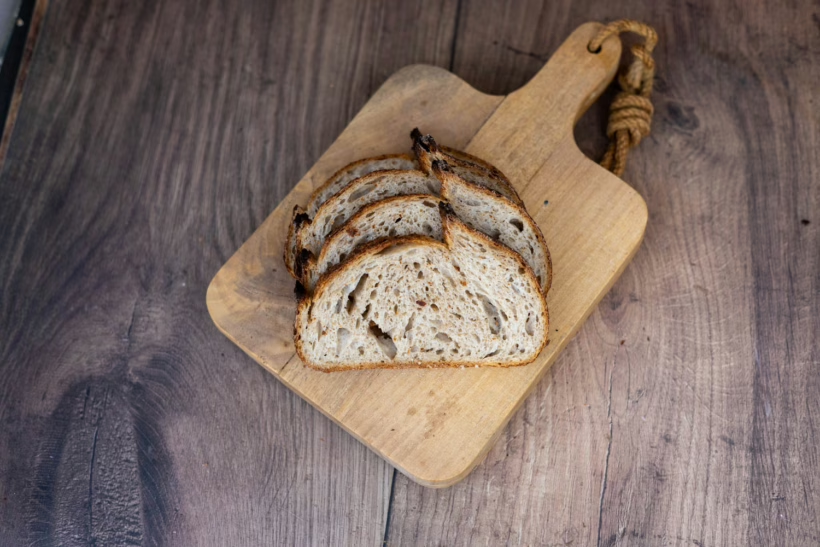
- Stand Mixer: The crumb was more uniform and tighter, with fewer large holes. This method created a strong dough but lacked the openness of the stretch and fold loaf.
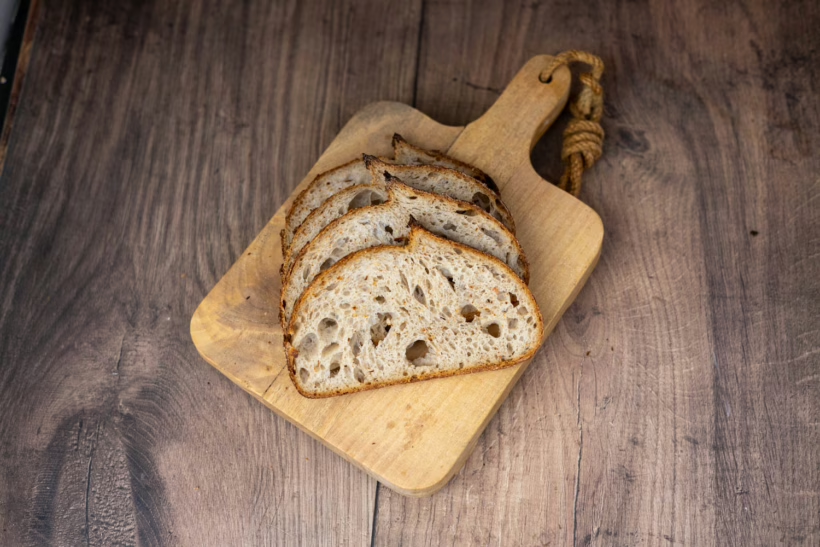
- Food Processor: The crumb was dense and tight, with tiny, uneven bubbles. The dough never fully developed, and it showed in the final result.
Which Method Is Best Sourdough Kneading Method?
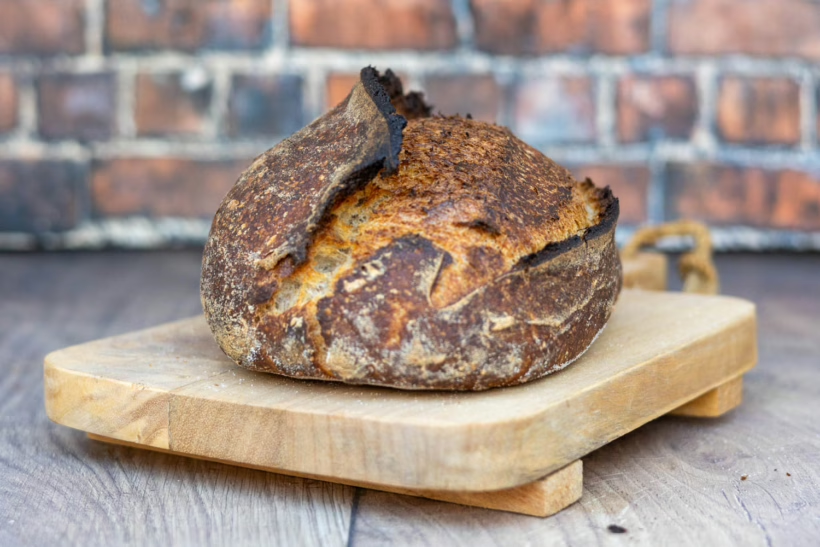
For sourdough bread, the no-knead method wins hands-down for ease and convenience. With minimal effort, you can achieve a great loaf. The long fermentation time does all the hard work for you, developing gluten naturally and adding depth of flavor.
The stretch and fold method is fantastic if you enjoy working with dough and want to be more hands-on. It’s slightly more labor-intensive, but the tactile feedback and interaction with the dough are worth it for many bakers.
The stand mixer is ideal if you’re short on time or prefer a more hands-off approach but still want a consistent result. While the crumb wasn’t as open as the no-knead or stretch-and-fold loaves, it’s a reliable method for a good loaf.
As for the food processor—I wouldn’t recommend it unless you have a powerful model. Mine struggled to handle the dough and didn’t deliver the gluten development needed for a great loaf. Maybe I did it wrong?
Final Rankings
Here’s my final ranking based on the results of this Sourdough Kneading Method experiment:
- No-Knead: Easiest and still produces a fantastic loaf.
- Stretch and Fold: Great for those who enjoy the hands-on process.
- Stand Mixer: A solid option for those who want to save time.
- Food Processor: Not recommended (unless your food processor is a beast).
Conclusion of this sourdough kneading method experiment
Sourdough bread is forgiving, and many methods will give you great results, especially with the long fermentation times we use. The no-knead method proved to be the most convenient and practical for sourdough. However, if you enjoy working the dough and building that tactile connection, the stretch and fold method is a classic that delivers excellent results.
For yeasted loaves with shorter fermentation times, methods that involve more active gluten development—like kneading or mixing—would be more critical. But for sourdough, let time and fermentation do the work.
What’s your go-to method? Did I pick the correct winner? Let me know in the comments below. Until next time—happy baking!
Please share my Sourdough Kneading Method Experiment on social media
This is my Sourdough Kneading Experiment. If you are a sourdough lover, please consider sharing it with your peers on social media.


