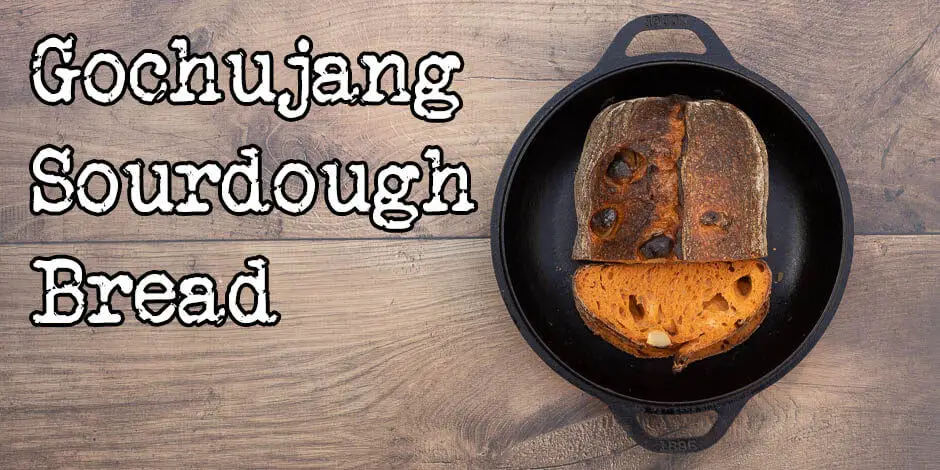
You’ve baked hundreds of sourdough loaves of bread. They still taste lovely, but you are looking for something new. Something to tickle the taste buds. Something savory. Maybe something Asian inspired? Why not! This is my recipe for gochujang sourdough bread.
This bread brings a lot of the flavor profile from Korean food: fermented, salty, tangy, spicy, garlic, and scallions. While it’s in no way a Korean bread, it will fulfill your carb-loaded Korean dreams.
If you are just here for the recipe, you can press the button underneath to be automagically transported to the recipe:
Jump to Recipe Jump to VideoSo what is Gochujang?
Firstly, it’s pronounced: ko-chu-jan (/ˈkɔːtʃuːdʒæŋ/).
Secondly, gochujang is a Korean red chili paste. It has a very distinct taste. Sweet, savory, tangy, fermented, and spicy. A uniquely Korean taste.
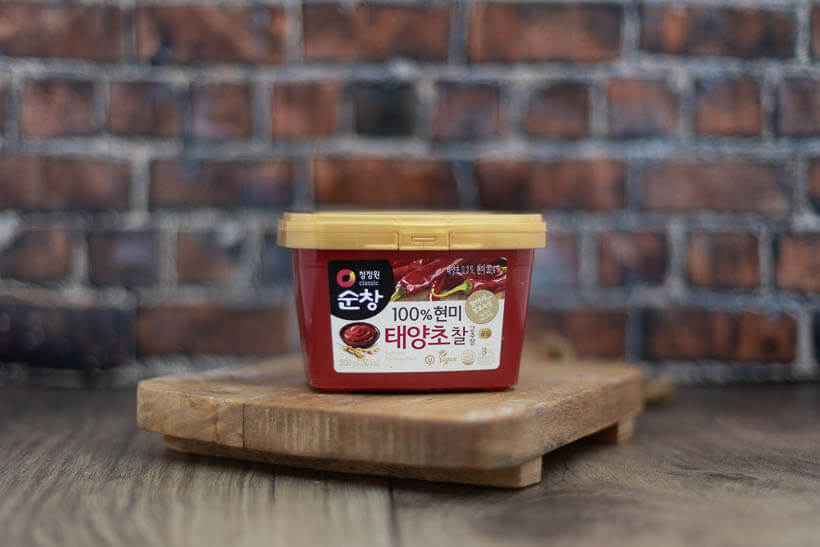
It’s made from chili powder, glutinous rice (as in glue, meaning sticky, not gluten), fermented soybean powder, barley malt powder, and salt.
It’s used for a variety of Korean dishes, like bibimbap, and tteokbokki, and in stews, soups, salads, and marinated meat dishes.
If you haven’t ever tried it, I would recommend it. It’s really good.

The dough composition in this gochujang sourdough bread recipe
Vitals
| Total weight | 1400 grams |
| Pre-fermented flour | 9.1% |
| Hydration | 75.3% |
| Yield | 2 small batards |
Dough
The dough in this gochujang sourdough bread is comprised of 80% bread flour and 20% whole-grain spelt flour.
The hydration of the dough is just a bit over 75%, but if you add the water content in gochujang (about 44%) the hydration is a bit over 82%. So unless you have very strong bread flour, I recommend that you start out a bit lower.
The salt content is 2.1%. Many people are worried about eating too much salt, but instead, you should worry about eating too much processed food.
If you are really worried about the salt, you can lower it to 0%, since gochujang has enough salt for the bread. It will be blander though.
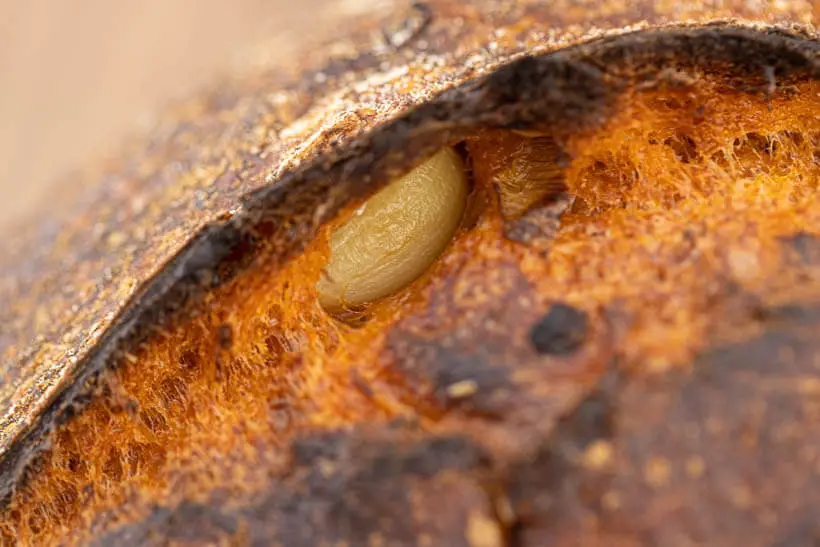
The inoculation is 20%, which is fine for a 21°C/70°F fermentation. Scale up or down based on ambient temperature. So if it’s warmer lower the inoculation, and colder increase the inoculation.
| Weight | Ingredient | Baker's Percentage |
|---|---|---|
| 468g | bread flour | 80% |
| 117g | whole grain spelt flour | 20% |
| 426g | water | 72.8% |
| 117g | sourdough starter (100% hydration) | 20% |
| 12g | salt | 2.1% |
| 100g | gochujang | 17.1% |
| 60g | spring onions | 10.3% |
| 100g | garlic cloves | 17.1% |
If you want to play around with the formula, change hydration, quantity, or inoculation, you can do so here in my Bread Calculator.
The conclusion of this gochujang sourdough bread recipe
Does this bread bring something new to the table? Absolutely.
The piquant taste of the gochujang blends incredibly well with the well-fermented taste of sourdough.
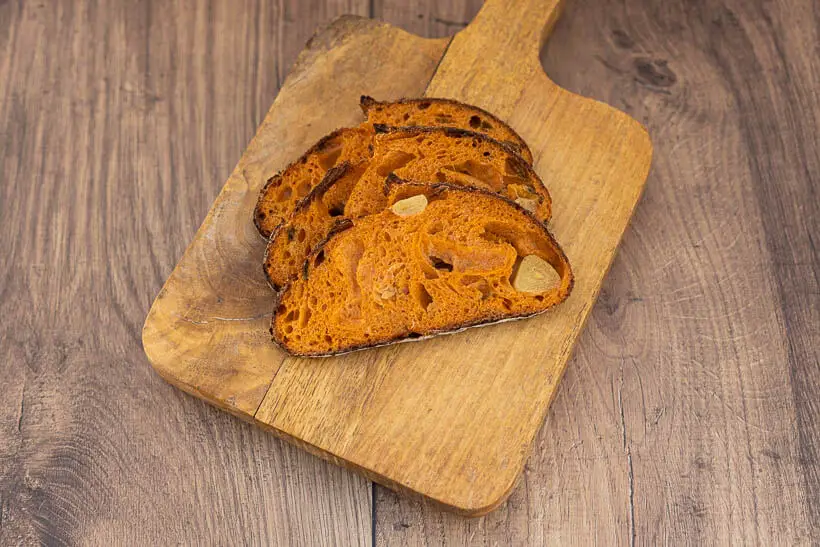
The huge cloves of garlic that are slow-roasted inside the bread and mild and fragrant. No overpowering garlic taste or smell here.
The scallions bring a bit of sharpness to the table.
This bread does well just as-is, with some cold butter on top, or maybe as a grilled cheese sandwich.
It’s the perfect companion for almost any hot dish that you can come up with.
Hey, why are you still reading? You should be baking.
Please share this recipe for gochujang sourdough bread on social media
This is my recipe for Gochujang Sourdough Bread. If you like the recipe please consider sharing it with like-minded bread lovers on social media.
If you make it and post it on Instagram, please tag me as @foodgeek.dk so I can see it. That would make me very happy.
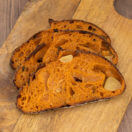
Gochujang Sourdough Bread
Ingredients
- 468 g bread flour
- 117 g spelt flour
- 426 g water
- 117 g sourdough starter fed and grown to its peak
- 12 g salt
- 100 g gochujang
- 60 g scallions about 3 whole scallions
- 100 g garlic cloves
Instructions
Mix dough
- To a mixing bowl add: 426g water, 100g gochujang, and 13g salt.
- Mix until it’s completely dissolved.
- Then mix up: 486g bread flour, and 117g whole grain spelt flour. Add it to the gochujang mixture.
- Then add 117g sourdough starter.
- Then mix it up with your hands until all the flour has been hydrated. Let it rest for an hour.
Prepare inclusions
- While the dough is resting, prepare 100g of peeled garlic gloves and 60g of green onions or scallions.
- Chop the green onions finely.
Bulk fermentation
- Then it’s time for the first set of stretch and folds. We’ll also mix in the inclusions.
- Add about a fourth of the garlic gloves and green onions on top. Then do a stretch and fold.
- Then add more garlic and green onions. Do another stretch and fold.
- Add about half of what you have left of garlic and green onions. Do yet another stretch and fold.
- Add the rest of the garlic and green onions. Do the last stretch and fold.
- Then let the dough rest and then do two more sets of stretch and folds.
- Put the dough in a bulking container and mark where the top of the dough is with a whiteboard marker.
- Then put the dough in a warm place and let it grow by 25%.
Divide and pre-shape
- When the dough has grown, it’s time to pre-shape it. Use your bench scraper to shape each dough into a loose ball.
- When the doughs have been shaped, let them rest on the kitchen counter for 20 minutes.
Final shape
- After the 20 minutes are up, final shape them into batards.
- Flour the top of the dough. Flip it over.
- Move any cloves on the edges of the dough to the middle. Tease the dough out into a square.
- Then fold the bottom up halfway. Fold the right side into the middle.
- Fold the left side over. Then fold the top to the middle and tug the edges on the sides.
- Then stitch at the top, the middle, and the bottom.
- Grab a banneton and spritz it lightly with water. Flour it with rice flour.
- Then shape the other dough the same way.
Retard the dough
- Put them both in bags and let them rest in the fridge for at least 8 hours and up to 48 hours.
Bake
- When ready to bake, heat your oven to 260°C/500°F with a baking steel and a dutch oven inside.
- When the oven has been heating for an hour, grab the first dough from the fridge.
- Dust the dough with rice flour to help it slide off the peel when put in the oven.
- Flip the dough onto the peel and then score the dough using a lame equipped with a razor blade.
- Then add the bread to the dutch oven, and put the lid on top.
- Bake for 20 minutes. After 20 minutes, remove the lid and reveal the bread.
- Bake until the bread is done. In my oven, 25 minutes is appropriate; it might be less or more in your oven. Go for dark on the edges and super crispy.
- Bake the other bread the same way.


