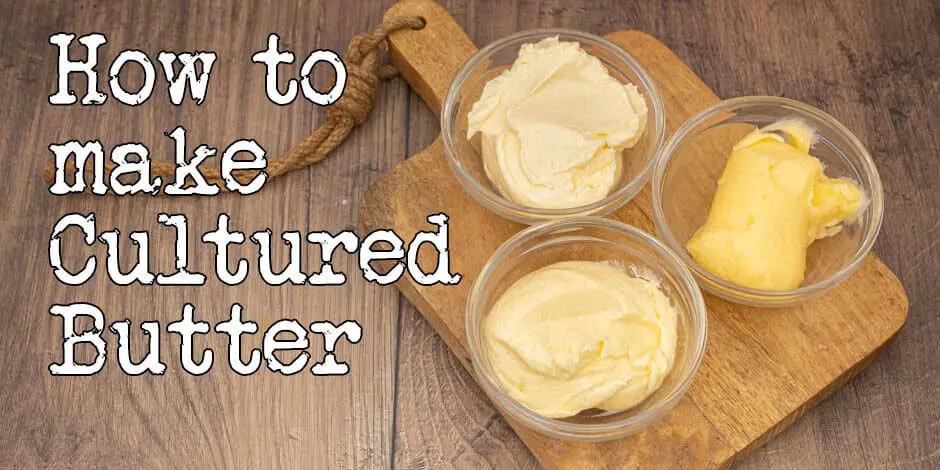
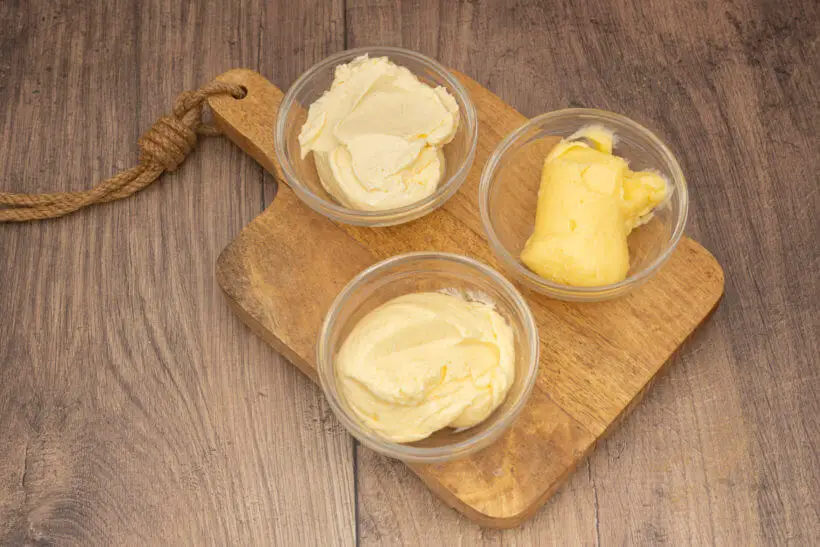
If you are anything like me, you think that butter is amazing. There’s nothing that you can do to make it better, or is there? There is, and I am going to show you 3 different ways to make butter better. You do it by culturing the cream before you churn it to butter. This is my recipe for cultured butter.
Butter has been around for at least 9,000 years. It’s been speculated that it was discovered by accident. Some chilled milk was being shaken around on a horse going down a rugged trail. That’s at least what author Elaine Khosrova explains in her book Butter – a rich history.
No matter what the story is, butter is delicious. I am going to show you how to make it even more delicious.
If you are just here for the recipe, you can press the button underneath to be automagically transported to the recipe:
Jump to Recipe Jump to VideoWhat is cultured butter?
The difference between regular butter and cultured butter is that the cream used to make the butter has been cultured before it is churned.
So what does that mean? Well, it makes that you inoculate the cream with live cultures or enzymes that will ferment the cream. It’s the same way yogurt is made, although I’ve never heard of full cream yogurt?
It changes the texture of the cream. Makes it thicker. The culturing also changes the taste of the cream. Notes of buttermilk and hazelnuts are among the most present, which of course impacts the butter that is made from the cream.
It generally broadens the taste and makes it even more buttery. It’s quite wonderful.
On that note, don’t skimp out on the cheapest cream you can find, because the taste of the cream also impacts the final product.
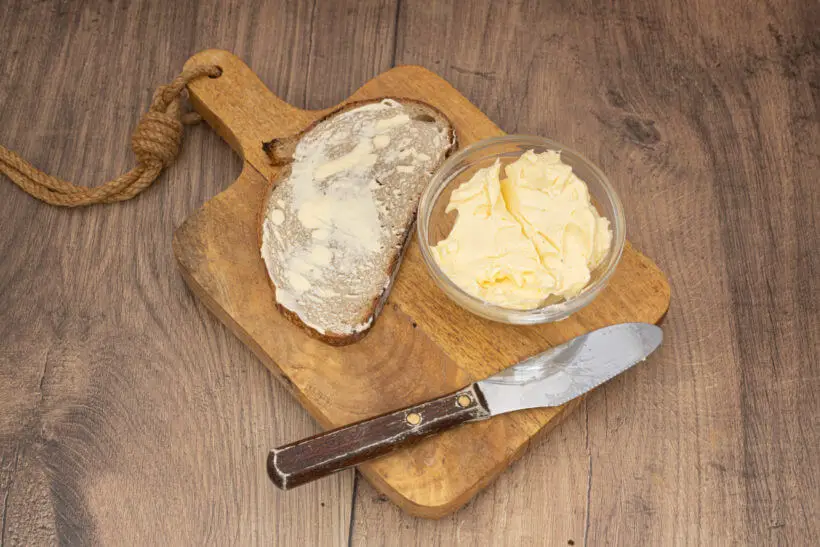
What do I need to make this recipe?
Ad Links
The links for ingredients/items in this section are affiliate links,
which means I will get a commission if you purchase the product!
You will need some tools and ingredients to make cultured butter
- A sealable container – I like Weck jars
- A proofer or some other means of keeping the cream at a steady temperature – I use my Brød & Taylor proofer which is my trusty companion in my sourdough baking.
- Cheesecloth for removing the buttermilk from the churned butter.
- While you can whip the cream by hand, I very much recommend getting an awesome stand mixer.
- Optional, but highly recommended: Monosodium Glutamate or MSG, which will give you an even tastier butter.
If you are going to be making the butter with live cultures (and yes, it’s better), you will also need:
- A precision scale – You need to be able to measure out the tiny amounts of cultures, but also salt.
- One of the two cultures: is Flora Danica or MM100.
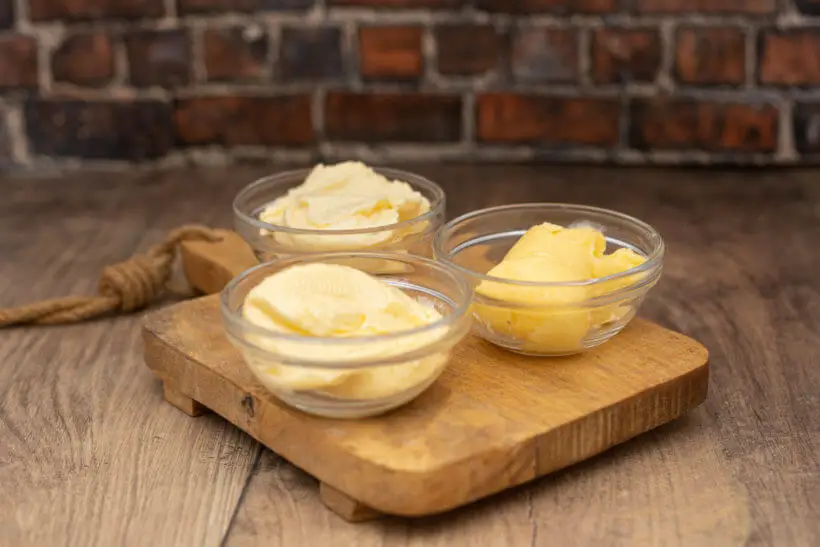
The process of making cultured butter
- First, the cream is inoculated with either a live culture or yogurt containing live cultures.
- Then the cream is cultured by putting it in the proofer for an extended period of time.
- After the right taste has been achieved the cream is chilled.
- Then it’s churned in your stand mixer.
- After the cream splits into butter and buttermilk, the bulk of the buttermilk is squeezed from the butter.
- The butter is washed in cold water to remove the rest of the buttermilk. This gives you butter with a higher amount of butterfat, which means it has a higher smoke point and it has a much better taste.
- Then salt and optionally msg is mixed in and the butter is shaped and chilled until it’s needed.
Conclusion of this recipe
So, butter seems finicky to make, but it’s not as difficult as it’s made out to be. Hands-on time is maybe 20 minutes in all, for a batch. Time doesn’t go up considerably if you make more, so if you are a butter lover you can make a much bigger batch as a time saver.
What are the success criteria for homemade cultured butter?
- Simple and easy process.
- Much better tasting butter than store-bought.
- Better butter in texture and application.
So I think that this butter ticks all the boxes.
While it does need to stand around for a long time, you don’t have to do much. Using a stand mixer for the churning makes it a breeze to get the butter ready and then it’s just about 10-15 minutes more to finish the butter.
The butter has a much better and improved taste over store-bought. You do need to dig the tangy though, but since you read my recipes, you are probably already into sourdough bread.
Because of the higher amount of butterfat, this homemade butter has a much better texture. That also means that this butter is more appropriate for baking. It will give you fluffier doughs and makes it possible to make croissants without having to buy expensive “croissant butter”. Also, searing steak in cultured butter is possible, because the smoke point is higher than in regular butter.
Go make butter.
Please share this recipe for cultured butter on social media
This is my recipe for cultured butter. If you like the recipe please consider sharing it with like-minded butter lovers on social media.
If you make it and post it on Instagram, please tag me as @foodgeek.dk so I can see it. That would make me very happy.
Cultured Butter
Ingredients
Ingredients
- 500 ml whipping cream
- 0.5-1 % salt of butter weight
- 0.25 % msg of butter weight, optional
Choose one
- 1.3 g flora danica culture
- 1.3 g mm100 culture
- 80 g yogurt
- 80 g butter milk from a previous batch
Instructions
Mix the cream
- Measure out 1.3 grams of culture or 80 grams of yogurt.
- Add some of the 500 ml whipping cream to the container and add the culture or yogurt.500 ml whipping cream, 1.3 g flora danica culture, 1.3 g mm100 culture, 80 g yogurt
- Give it a good stir, then pour in the rest of the cream.
Culture the cream
- Seal the container and put it in your proofer set to 30°C/86°F if using a culture, or 43°C/110°F.
- Leave it to ferment for 24 hours if using cultures or 48 hours if using yogurt.
- When the time is up, have a taste of the cream. If it’s to your liking, put it in the fridge to cool it down, or you can put it back in the proofer for up to 72 hours in all.
Churn the butter
- When the cream has been chilled, it’s time to churn. Put the cream in your stand mixer with the paddle attachment attached.
- Start slowly, and be aware that once the cream splits, it’ll get messy.
- You're done when the butter splits from the buttermilk.
Remove the buttermilk
- Pour the entire mixture into a cheesecloth-lined strainer, set over top of a bowl.
- Fold up the cheesecloth and squeeze. Pour the buttermilk into a suitable container and keep it cold. You can inoculate a new batch of butter using the buttermilk.
- You can keep the buttermilk in the fridge for up to two weeks, or put it in the freezer where it’ll stay good for at least 3 months.
Wash the butter
- Then it’s time to wash the butter. Fill a bowl with cold water. I like to add a few ice cubes to keep the temperature down.
- Add the butter to the water, squeeze and work your way through the butter. The water will get milky. That's the buttermilk that’s being expelled from the butter.
- Then remove the butter from the water. I like to put it back in the strainer from before. That way, excess water and buttermilk can drip out.
- Fill the bowl with fresh water and ice cubes and rewash the butter. If the water is still milky, you should rewash it.
- Put the butter back in the strainer.
Mix in salt
- Grab a cutting board.
- Weigh out the butter. Calculate the salt and MSG needed. If using MSG go for 0.5% salt and 0.25% MSG. If not using MSG, go for 1% salt.
- Add the butter to the cutting board, and pour salt on top.
- Then massage the salt into the butter using a plastic scraper. Once you’re satisfied that it’s been adquately incorporated, grab some plastic wrap.0.5-1 % salt, 0.25 % msg
- Pick up the butter with the scraper, add it to the wrap and then roll the plastic wrap around the butter.
- Put it in the fridge until you need it. It will stay good in the refrigrator for months, but I doubt it’ll keep that long.


