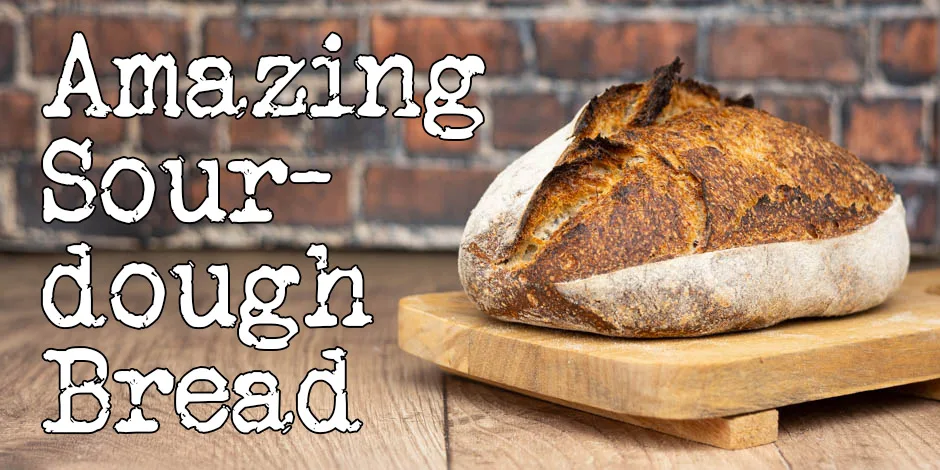
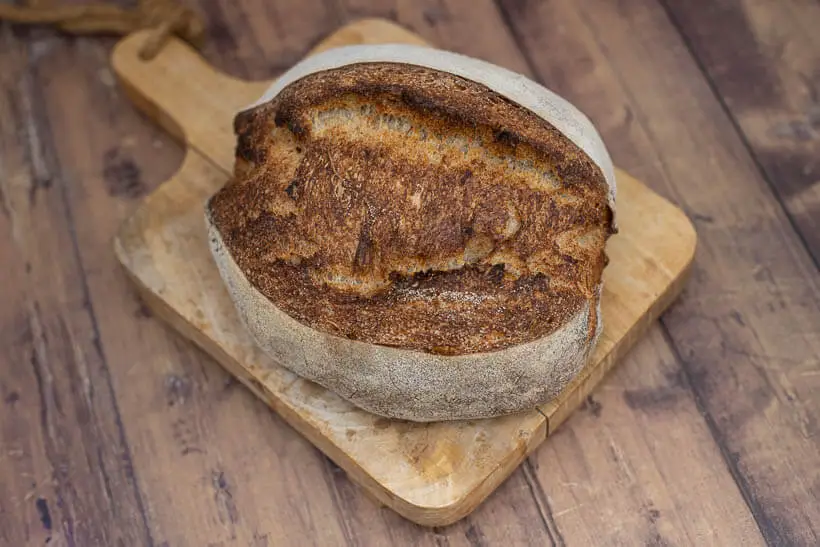
Once you’ve had real sourdough bread, there’s no going back. No, I don’t mean the stuff from the supermarket made by adding citric acid and some yeast. No, I mean the kind that’s been allowed to develop taste over many hours, fermented to perfection, and then baked until golden brown and super crispy. This is my artisan sourdough bread recipe.
Now, I felt it was time to publish my updated Master Recipe for sourdough bread. This is used as a base for any kind of lean sourdough bread recipe I make, and it is now yours, too.
If you are just here for the recipe, you can press the button underneath to be automagically transported to the recipe:
Jump to Recipe Jump to VideoUpdated recipe
The recipe was updated in May 2023 to reflect the results of the growing list of experiments that I have done on baking sourdough bread. This recipe will be updated when I discover something significant.
What was updated in version 2?
- Amounts in the formula were made more “user friendly” while retaining the hydration and adding insignificant weight.
- Expanded the methods of agitation to include no-knead, machine mixed, or whatever type of folds you like.
- Expanded baking to include open bake, oven-off, and two-stage covered baking. Change the temperature to 230°C/450°F all the way through the bake.
- Added notes on hydration, salt, and many other small improvements.
- The article for grammar, precision, and tone.
The background for this artisan sourdough bread recipe
When I started baking sourdough bread, I read every site, book, blog, and everything else I could get my hands on.
I wanted, nay, needed, to know how it worked. I wanted a ‘sourdough model’ in my head, culminating in my article Sourdough Bread for Beginners.
It was by no means a bad piece of work. I’d worked on it for months, and everything I had learned was poured into this article. About 6 months later, it turned into my third video on my Foodgeek YouTube channel.
In May 2019, I made a timelapse recording of my starter after feeding, which became my first “Experiment Time!” video.
Over the next years, I made over 60 videos with different scenarios for baking sourdough bread.
I always tried to keep it based on scientific thinking, having a control bread and only varying one variable at a time. At least when that made sense.
All of those experiments and their conclusions have been used to make this new Master Recipe.
That said, you will need a sourdough starter to make this bread, so if you’re new to sourdough baking, read my article on making your own sourdough starter.
The tools needed for this artisan sourdough bread recipe
Ad Links
The links for ingredients/items in this section are affiliate links,
which means I will get a commission if you purchase the product!
To make artisan sourdough bread, you’ll need some tools. I’ll divide this section into what you need and what you probably want after hitting the ‘geek’ stage of baking sourdough bread.
The ‘essential’ list:
The ‘geek’ list:
The techniques needed for artisan sourdough bread recipe
Stretch and Fold
There are several ways of agitating a dough to promote gluten development, and you can say that the longer the fermentation is, the more likely it is to happen all by itself.
It’s all about hydrating the protein glutenin present in wheat flour (and, to some degree, other flour, too) to start forming gluten bonds with the other protein gliadin in the dough, which helps with the dough’s structure.
You can make sourdough bread without agitation, kneading, machine mixing, stretch-and-folds, slap-and-folds, coil folds, or probably any other method that moves the dough around.
I’ve chosen stretch and folds because they are a great way to feel the dough develop and are super satisfying.
Use whatever method that works best for you and your personality. They’re all good.
Boule shaping
A boule is a round shape of bread. Shaping boules is easy to do and easy to learn.
It should be done on a kitchen counter without ANY flour.
Basically, you just put your bench scraper (or your hands) behind the dough and pull it forward so that the top is pulled down in front of the dough, tightening the top of the dough.
You then turn the dough and proceed until the dough is sufficiently tight.
In the pre-shape, I will go for just a bit tight, and in the final shape, I will go for pretty tight (very scientifically accurate namings, right?). It’s just to give you an idea of what to aim for.
Bâtard shaping
Bâtards are elongated bread. The shape goes from long round over cigar-shaped to torpedo, which describes how tapered the ends are.
Bâtard shaping is a final shaping technique. It can be done in numerous ways, and none are more correct than others.
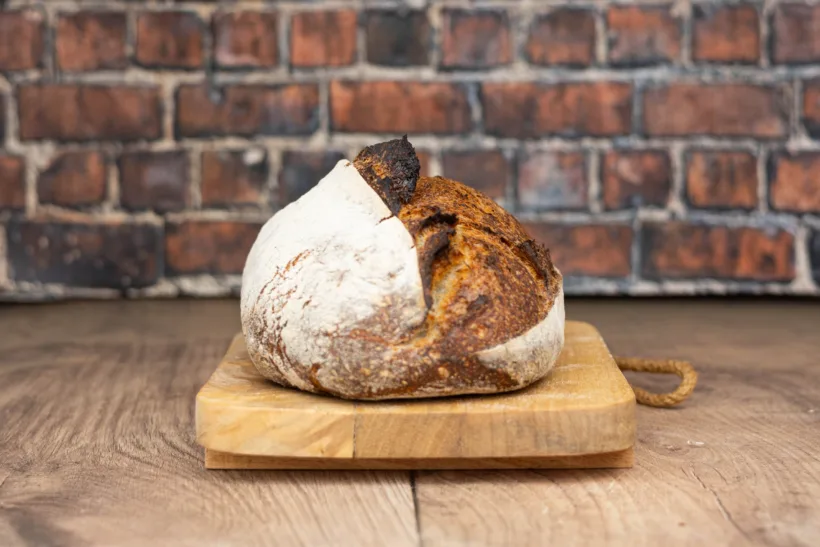
It’s about shaping a piece of dough with tension around the loaf along the long side.
If you watch the video for this Foodgeek Master Recipe, you can see how I do it in great detail.
Scoring
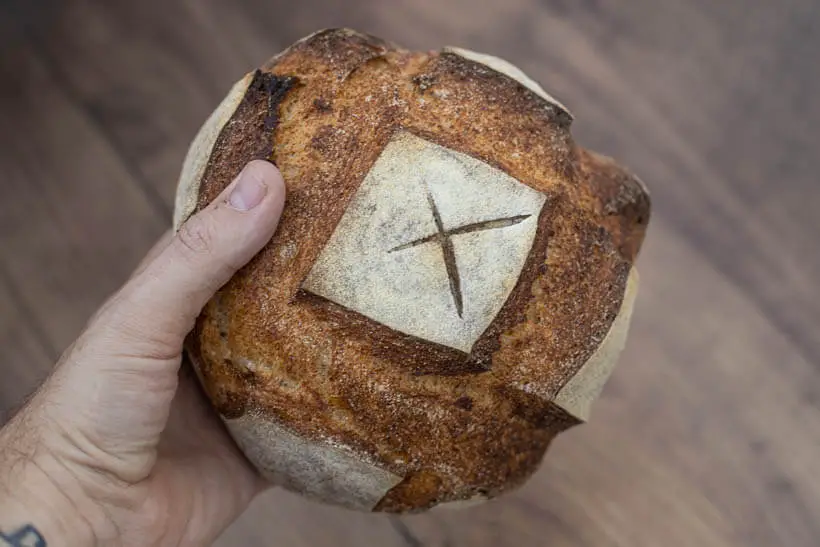
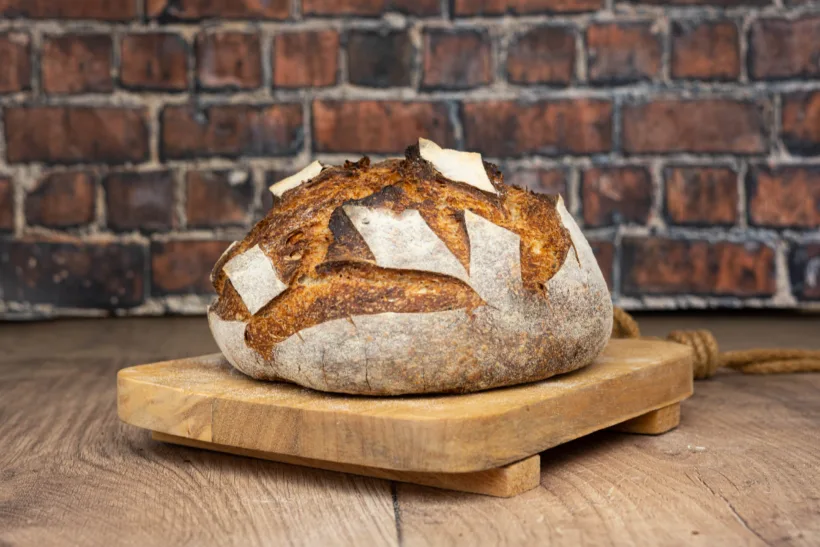
Scoring bread is a skill in itself, in addition to everything else involved in making it. Part of scoring is having the proper tool and learning how to use it.
The cuts need to be precise and decisive—slash as you mean it. I wrote a whole article about the subject that you should read.
The dough composition in this artisan sourdough bread recipe
Vitals
| Total weight | 1415 grams |
| Pre-fermented flour | 9.1% |
| Hydration | 69.7% |
| Yield | 2 small boules |
The dough
Hydration
The hydration of the dough in this artisan sourdough bread recipe is 70%. This is a high-hydration bread but at the lower end of that.
This is sort of a catch-all hydration. It should work with most bread flours, but if you use all-purpose flour, you may need to change the hydration downwards. If you use specialty bread flour, you may need higher hydration. Watch the video for how you can test your flour.
Remember that high hydration isn’t a goal in itself. Use whatever hydration your flour wants.
Whole grain
For my whole grain component, I am using rye. I love the taste of rye, and it gives the bread much more tang. You can use any kind of flour you want, though, or even just more bread flour if you like the ‘plain bread’ more.
Inoculation
The inoculation is the amount of starter to flour ratio. The more starter in your dough, the faster it will ferment (up to a point).
The inoculation in this artisan sourdough bread recipe is 20%, which suits a fermentation at a room temperature of about 21°C/70°F.
If your room temperature is vastly lower or higher than that, you may want to change the inoculation.
A good rule of thumb is to decrease the inoculation by 5% for each 5°C/10°F the temperature is above 21°C/70°F.
Likewise, for each 5°C/10°F the temperature below 21°C/70°F increase the inoculation by 5%.
Salt
The amount of salt in this dough is 2%. This balanced number makes the bread taste good without being salty. Personally, I like my bread with 3% salt, but do whatever suits your tastes and health considerations.
If you go below 1% salt, the dough’s elasticity can suffer. Your mileage may vary.
| Weight | Ingredient | Baker's Percentage |
|---|---|---|
| 600g | bread flour | 80% |
| 150g | rye flour | 20% |
| 500g | water | 66.7% |
| 150g | starter (100% hydration) | 20% |
| 15g | salt | 2% |
Tinkering with the dough formula
This dough is a great starting point but is meant to change and personalize.
To change hydration, weight, ingredients, inoculation, and everything, you can use this formula as a starting point in my Bread Calculator.
The choices of how to bake your sourdough bread
One major change in this recipe from the 2020 version to the 2023 version is to bake at a constant 230°C/450°F. That opens up a number of different ways to bake your bread.
Two-stage baking for dutch ovens
Ad Links
The links for ingredients/items in this section are affiliate links,
which means I will get a commission if you purchase the product!
In the recipe, I’ve chosen to explain how to do two-stage baking using a dutch oven, which is a way that both saves time and electricity. Essentially, you do the steaming for one loaf while you brown the other loaf. The more loaves you bake at one time, the more time and electricity you will save. If you can fit multiple dutch ovens in your oven, plus loaves on the side, you can optimize this further. My European oven only fits one dutch oven and one browning bread, so I am limited.
Also, if you want to avoid hoisting the dough into the dutch oven, you can place your dough on a baking sheet covered with baking paper and then place the dutch oven pot on top of the dough. If you want a cheap alternative, I can recommend the Lodge Combo Cooker, which I used for years before getting my (not very cheap) Challenger bread pan.
Turn the oven off when baking without a dutch oven.
Another way to bake is to bake without a dutch oven and use the ‘oven off’ trick.
Note that you will need to turn off the convection in your oven so that it does not blow out all of the steam when you open it.
For this method of baking, you will need a baking steel and two pans at the bottom of the oven: one with a rolled-up towel and the other with lava stones. About 10 minutes before baking, while heating, pour boiling water over the towel to saturate the oven with steam.
Then, after loading the loaves, you pour a cup of water onto the lava stones and quickly close the oven. This ensures both slow and super-fast steam production.
Then, you turn the oven off for 20 minutes. This saves electricity and gives you an amazing oven spring because the crust sets more slowly. When the 20 minutes are up, remove the steaming pans, turn the oven on to 230°C/450°F, and brown the bread. Usually about 25 minutes.
The conclusion of this artisan sourdough bread recipe
What kind of bread can you expect from this recipe?
You can expect a wonderful crispy sourdough bread with a deliciously tangy and chewy crumb.
A bread that will stay fresh longer than you are used to if you bake yeasted bread.

A bread with a wonderful taste that’s developed over a long period of time. The quintessential taste of fermented bread.
If you are baking sourdough for the first time, go with your readily available flour.
Once you master the techniques, I suggest you try different artisanal flours and see what you like and how they work. Try different flours for whole grains: wheat, rye, oats, buckwheat, spelt, etc.
Learn what suits your palette. This recipe is the basis for your sourdough adventure.
Please share this artisan sourdough bread recipe on social media
This is my artisan sourdough bread recipe. If you like it, please consider sharing it with like-minded bread lovers on social media.
If you make it and post it on Instagram, please tag me as @foodgeek.dk so I can see it. That would make me very happy.
Foodgeek Master Recipe for Artisan Sourdough Bread
Equipment
Ingredients
- 600 g bread flour
- 150 g dark rye flour substitute with your favorite
- 15 g fine salt
- 150 g sourdough starter
- 500 g water
Instructions
Feed the starter – The night before
- About 8-10 hours before mixing, feed your starter at 1:5:5. That means take 15g starter, 80g flour, and 80g water mix it and let it grow at room temperature.
- If you'd like more sour bread, you can start earlier.
Mix the ingredients and bulk fermentation – The next day
- Add bread flour, rye flour, and salt to a bowl. Mix it with your fingers until it's well-distributed.
- Add 150g of sourdough starter and 500g of water.
- If you want to, you can mix on a machine until the dough looks nice and cohesive. Then go straight to the rise.
- Otherwise, mix with your fingers until no dry bits remain. Leave the dough to rest covered for 60 minutes.
- At this point, you can choose to jump straight to the rise, making it a no-knead bread. Otherwise, you can do three sets of stretch and folds or coil folds spaced out by 30 minutes. Coil folds are best if you are making one loaf.
The rise – jump here for machine and no-knead
- Put the dough in a see-through container where you can monitor the bulk.
- DON'T USE TIME TO MEASURE YOUR BULK FERMENTATION!! The rise varies according to many factors, so go by the growth of the dough, not time.
- If you are bulking cold, below 21°C/70°F, let the dough rise 100%.If you are bulking at room temperature, around 21°C-25°C/70°F, let the dough rise 50%.If you are bulking warm, above 25°C/77°F, let the dough rise 25%.
Divide and pre-shape
- If you are making one loaf and used coil folds, skip straight to final shaping.
- Divide the dough into two equally sized pieces by cutting it with your bench scraper. Preshape both pieces of dough into a boule.
- Let the dough rest on the counter for 20 minutes.
Final shape
- Final-shape the bread into boules or bâtards, depending on what you prefer. Boules are the easiest, so if you're new, go for that. Watch the video to see how you do both of them.
- After each dough is shaped, dust a banneton with rice flour and add the dough. Instead of a banneton, you can use a bowl lined with a dish towel. They will, of course, only accommodate boules.
- Add both bannetons to your fridge. Your fridge should be ice cold. Mine's set to 2°C/35.5°F. Let the bread retard for 4 to 48 hours. You don't have to cover the dough.
Bake the bread
- Heat your oven to 230°C/450°F with dutch oven inside. Heat for 30 minutes to make sure both are completely saturated with heat.
- Grab a dough from the fridge. Dust it with rice flour on the bottom and put your peel over the top.
- Flip it over so the dough rests on the peel. Dust the top with more rice flour and distribute it with your hands. Score the dough.
- Open the oven and take the top off the dutch oven. Grab the peel and add the dough to the dutch oven.
- Put the top on, close the oven, and bake for 25 minutes.
- Prepare the other bread, as above. Then open the oven and take the top off of the dutch oven. Move the bread in the dutch oven to the side, and then add the unbaked bread to the dutch oven.
- Put the lid on and bake for 25 minutes. Then take out the finished bread and put it on a wire rack.
- Take the top of the dutch oven and brown the other bread. Then take it out and put it on a wire rack. Let them both cool to room temperature.
- That's how you make artisan sourdough bread.


